Creating and maintaining a garden can be one of the most rewarding projects, blending creativity, organization, and a connection to nature.
Successful gardens begin long before seeds are planted and winter is the perfect time to prepare, plan, and gather everything you need to create a thriving garden.

This guide outlines essential tools and materials, a step-by-step guide to starting your garden, and tips for using planners and trackers to stay organized.

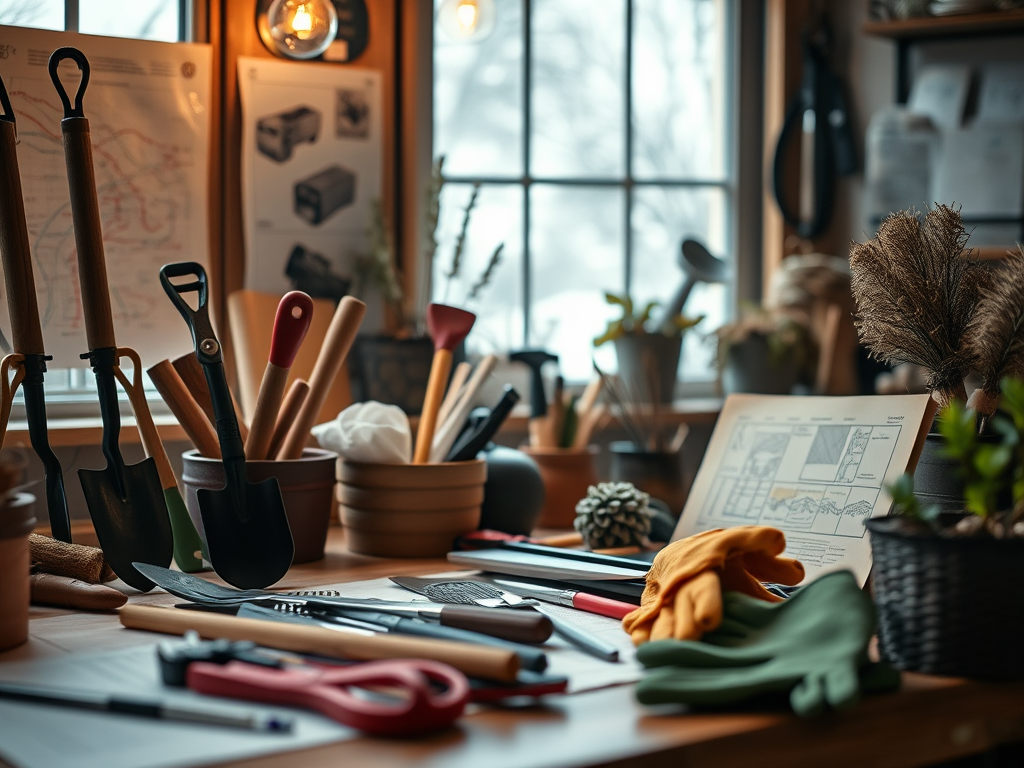
Essential Tools & Materials
Winter is the perfect time to focus on preparation and planning for the upcoming spring planting season.
With the colder months keeping you indoors more often, it’s an excellent opportunity to organize, gather resources, and set yourself up for a successful and enjoyable gardening experience.
Thoughtful preparation during this time can save you from unnecessary stress and ensure your springtime efforts are more efficient and rewarding.
To get started, here are some essential tools and materials you’ll want to collect and have ready:
1. Basic Tools
Trowels:
Ideal for planting, transplanting, and digging small holes.
Pruners:

Essential for trimming and shaping plants.
Shovels:

Useful for digging large holes or turning over soil.
Garden Fork:

Excellent for aerating soil and breaking up clumps.
Rakes:

Necessary for clearing debris and leveling soil.
2. Protective Gear
Gloves:

Protect your hands from thorns and soil.
Knee Pads or Garden Kneelers:
Prevent discomfort during prolonged kneeling.
Sun Hat
Prepare this for sunny gardening days.
Apron:

3. Containers & Organization Tools
Seed Storage:
Airtight containers to store seeds and keep them viable.
Labeling Supplies:
Markers, stakes, or labels for identifying plants.
Tool Organizer:
Ensure easy access to your tools with a caddy or wall rack.
4. Soil & Amendments
Soil Testing Kit:

Test pH levels and nutrient availability.
Compost or Manure:

Enhances soil fertility.
Fertilizers:
Organic or synthetic, depending on your garden’s needs.
Mulch:

Protect plants and suppress weeds.
5. Seeds & Plants
Seed Catalogs:
Order seeds and decide on varieties to grow.
Starter Plants:
Plan to purchase young plants for species with long growing seasons.
Grow Lights & Seed Trays:

Start seeds indoors for an early start.
6. Irrigation Supplies
Hoses & Watering Cans:
Ensure proper hydration for your plants.
Drip Irrigation System:

Conserve water and deliver it directly to roots.
7. Miscellaneous Tools
Plant Supports:
Stakes, trellises, or cages for climbing plants.
Pest Control:
Consider organic sprays, traps, or barriers to prevent pests from eating your plants.

Weather Protection:
Row covers or cloches for frost-sensitive plants.

Step-by-Step Guide to
Garden Planning
Step 1:
Assess Your Space and Climate
Evaluate Your Garden Area:
Measure the space and consider sunlight, drainage, and proximity to water sources.
Understand Your Climate Zone:
Use resources like the USDA Hardiness Zone Map to identify what plants thrive in your area.
Identify Soil Type:

Determine if your soil is sandy, loamy, or clay-based and amend it as needed.
Step 2:
Define Your Garden Goals
Purpose:
Decide if your garden will be ornamental, edible, or a combination of both.
Design:
Sketch a rough layout, including pathways, planting beds, and focal points.
Themes:

Choose a theme (e.g., cottage garden, vegetable garden, native plants).
Step 3:
Choose Plants Wisely
Research Plant Varieties:
Select plants suited to your climate and soil.
Plan for Succession Planting:
Maximize yield by planning crops for different growing seasons.
Companion Planting:

Pair plants that benefit each other.
Step 4:
Create a Planting Schedule
Timeline:
Plan when to start seeds indoors, transplant, and direct sow.
Frost Dates:

Check the average last frost date for spring and first frost date for fall in your region.
Rotations:
Practice crop rotation to maintain soil health.
Step 5:
Prepare the Soil
Test & Amend:
Use results from your soil test to add necessary nutrients.
Clear the Area:

Remove weeds, debris, and unwanted vegetation.
Aerate & Level:
Turn over the soil and ensure a smooth surface.
Step 6:
Establish Infrastructure
Beds & Borders:

Construct raised beds or define planting areas.
Irrigation Setup:
Install hoses, sprinklers, or drip systems.
Composting Area:

Designate a spot for composting organic waste.
Step 7:
Plant & Mulch
Planting Techniques:
Follow spacing, depth, and sunlight requirements.
Mulch Application:

Apply mulch to retain moisture and deter weeds.
Step 8:
Maintain & Monitor
Weeding:
Regularly remove weeds to prevent competition for nutrients.
Watering:

Water consistently based on your plants’ needs.
Pest Management:
Address pest issues promptly with organic sprays and/or plant barriers.
Staying Organized:
Planners, Trackers, & Tools
Gardening is a rewarding activity, but it also requires consistent effort, careful planning, and staying on top of many moving parts.
From planting schedules to watering routines, soil management, and pest control, having an organized approach can make all the difference between a thriving garden and one that struggles to reach its potential.
By implementing effective tools and strategies, you can simplify the process, save time, and ensure your plants receive the care they need.
Whether you’re a beginner or a seasoned gardener, staying organized allows you to track progress, plan for seasonal changes, and tackle challenges with confidence.
Here are some essential tools and strategies to help you stay on top of your garden’s needs:
1. Garden Planners
Monthly Calendars:
Schedule planting, maintenance, and harvesting tasks.
Design Layouts:
Draw your garden layout to visualize spacing and crop placement.
Budget Trackers:
Record expenses for seeds, tools, and materials.
2. Digital Tools
Apps:
Use gardening apps to plan and track progress.
Online Journals:
Document successes and challenges in a blog or digital diary.
Spreadsheet Trackers:
Track planting dates, harvest yields, and weather data.
3. Physical Tools
Binders:
Keep seed packets, receipts, and notes organized.
Labels:

Mark plants clearly with durable labels.
Bullet Journals:
Combine artistic expression with garden planning.
4. Observation & Notes
Daily Checks:
Observe changes and note growth patterns.
Pest Logs:
Record pest activity to track recurring issues.
Weather Diary:
Monitor rainfall, frost, and temperature trends.
Additional Tips for Success
Start Small:
If you’re new to gardening, begin with a manageable area or a few pots of plants. Starting small allows you to learn the basics without feeling overwhelmed.
Focus on a few easy-to-grow plants that suit your region and climate. As you gain confidence and experience, you can gradually expand your garden to include more plants and larger spaces.
Learn Continuously:
Gardening is a journey of growth and discovery.
Take advantage of resources such as workshops, online courses, and gardening clubs to deepen your knowledge.
Joining a local gardening group can also connect you with experienced gardeners who can offer advice tailored to your area’s unique challenges.
Books, blogs, and YouTube channels are excellent sources of inspiration and guidance.
Experiment:
Don’t be afraid to step outside your comfort zone by trying new plants, layouts, or techniques. Experimentation keeps gardening exciting and can lead to unexpected successes.
Whether it’s growing an exotic vegetable, testing companion planting methods, or designing a pollinator-friendly flower bed, each experiment adds to your skills and enhances your garden’s diversity.
Celebrate Achievements:
Gardening is as much about the journey as the destination.
Take the time to celebrate every milestone, whether it’s your first ripe tomato, a flourishing herb patch, or a beautifully blooming flower.

These small victories serve as motivation and remind you of the joy gardening brings.
Document your progress through photos or a journal to reflect on your growth and accomplishments over time.
Take pride in small victories, such as your first harvest or a thriving flower bed.
With careful planning, thoughtful preparation, and consistent effort, your garden can be a lush, productive, and beautiful space.
Begin your journey today, and enjoy the satisfaction of nurturing life from the ground up.


Leave a Reply