A Guide to Starting Seeds Indoors
Starting seeds indoors is a fantastic way to get a head start on your gardening season.
By controlling the growing environment, you can ensure your plants are healthy, strong, and ready to thrive when transplanted outdoors.

This guide provides a step-by-step process for starting seeds indoors, complete with examples of days to germination, sprouting, and fruiting, as well as tips on plant care and maintenance.

Benefits of Starting Seeds Indoors
Extended Growing Season:
Indoor seed starting allows you to grow plants that require longer growing seasons in regions with shorter summers.
Better Control:
You can control light, temperature, and moisture to provide optimal conditions for germination and early growth.
Cost-Effective:
Starting plants from seeds is generally more affordable than purchasing transplants.
Greater Variety:
Seed catalogs offer a broader range of plant varieties compared to local garden centers.

Step-by-Step Guide to Starting Seeds Indoors
Step 1:
Choose Your Seeds
Research Your Zone:
Determine your USDA planting zone and identify plants that thrive in your region.
Decide What to Grow:
Common choices for indoor seed starting include tomatoes, peppers, cucumbers, broccoli, lettuce, and herbs like basil and parsley.
Understand Seed Needs:
Review the seed packet for specific information on days to germination, light requirements, and planting depth.
Step 2:
Gather Supplies
Seeds:
Purchase high-quality seeds from a reputable source.
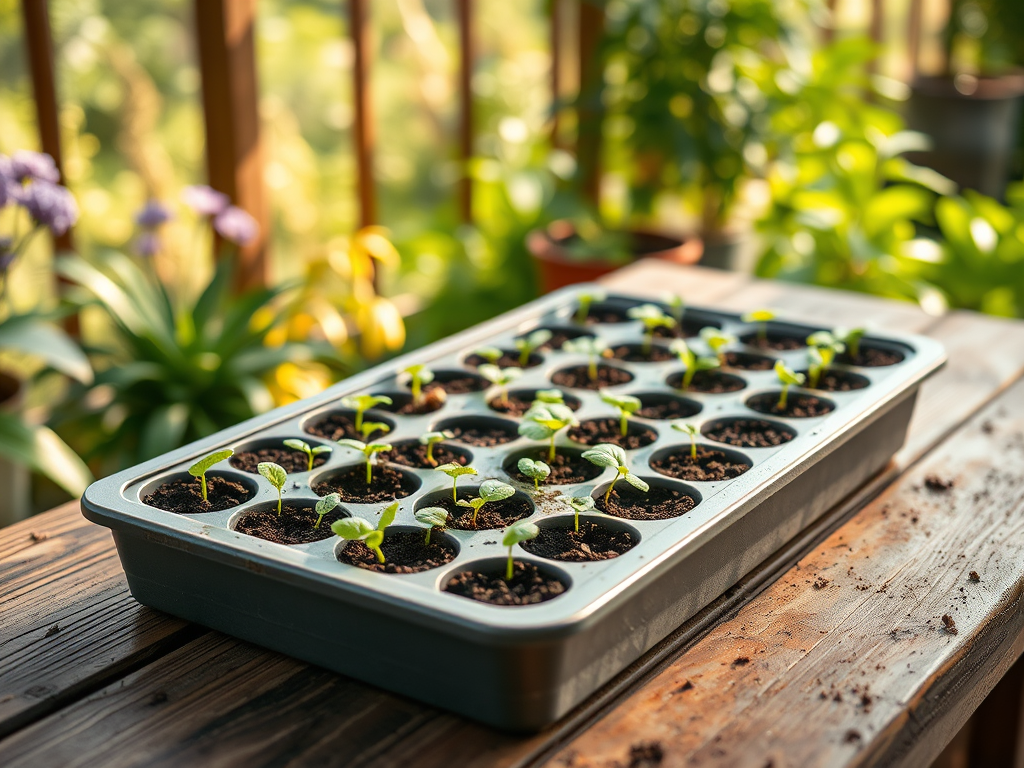
Containers:
Use seed trays, biodegradable pots, or upcycled containers like egg cartons. Ensure they have drainage holes.
Seed Starting Mix:
Choose a light, well-draining mix specifically designed for seed starting. Avoid garden soil, as it’s too heavy.
Labels:
Mark each container with the plant name and date planted.
Light Source:
Use grow lights or fluorescent lights to provide sufficient light for seedlings.
Heat Mat:
A heat mat can help maintain consistent soil temperatures for optimal germination.
Step 3:
Plant Your Seeds
Prepare the Containers:
Fill each container with moist seed starting mix, leaving about ½ inch of space at the top.
Plant the Seeds:
Check the seed packet for planting depth. Generally, seeds should be planted at a depth of 1-2 times their diameter.
Label Each Container:
Use waterproof labels to avoid confusion as seedlings grow.
Water Gently:
Use a spray bottle or a watering can with a fine spout to moisten the soil without displacing the seeds.
Step 4:
Create Optimal Growing Conditions
Light:
Place the containers under grow lights or near a south-facing window. Seedlings require 12-16 hours of light daily.
Temperature:
Maintain a consistent temperature of 65-75°F. Use a heat mat for seeds that require warmth to germinate, like peppers.
Humidity:
Cover the trays with a humidity dome or plastic wrap to retain moisture until the seeds germinate.
Step 5:
Monitor & Maintain Seedlings
Watering:
Keep the soil consistently moist but not waterlogged. Allow the top layer of soil to dry slightly between waterings.
Thinning:
Once seedlings have two true leaves, thin them out to prevent overcrowding. Snip weaker seedlings at the soil level.
Fertilizing:
Begin feeding seedlings with a diluted liquid fertilizer (half-strength) once they develop their first true leaves.
Air Circulation:
Use a small fan to provide airflow, which strengthens stems and prevents fungal diseases like damping-off.
Step 6:
Prepare for Transplanting
Harden Off Seedlings:
About 1-2 weeks before transplanting, gradually introduce seedlings to outdoor conditions.
Start by placing them outside in a shaded area for a few hours, then gradually increase sun exposure and time spent outdoors.
Check Frost Dates:
Ensure the risk of frost has passed before transplanting.
Transplant at the Right Time:
Follow the seed packet’s guidelines for transplanting based on plant maturity and outdoor conditions.
Timelines for Common Vegetables
Tomatoes
- Days to Germination: 5-10 days
- Days to Sprouting: 10-14 days
- Days to Fruiting: 70-85 days after transplanting
- Start Indoors: 6-8 weeks before the last frost date
- Care Tips: Stake or cage plants to support heavy fruit.
Peppers
- Days to Germination: 7-21 days
- Days to Sprouting: 14-28 days
- Days to Fruiting: 60-90 days after transplanting
- Start Indoors: 8-10 weeks before the last frost date
- Care Tips: Use a heat mat for better germination and mulch to retain soil moisture.
Cucumbers
- Days to Germination: 3-10 days
- Days to Sprouting: 7-14 days
- Days to Fruiting: 50-70 days after transplanting
- Start Indoors: 3-4 weeks before the last frost date
- Care Tips: Provide a trellis for climbing varieties.
Lettuce
- Days to Germination: 2-7 days
- Days to Sprouting: 5-10 days
- Days to Harvest: 30-50 days
- Start Indoors: 4-6 weeks before the last frost date
- Care Tips: Harvest leaves regularly to encourage new growth.
Common Challenges & Solutions
Leggy Seedlings:
Cause: Insufficient light
Solution: Lower the grow light to 2-3 inches above the seedlings or increase light exposure.
Damping-Off Disease:
Cause: Overwatering and poor air circulation
Solution: Use a fan for airflow and avoid waterlogged soil.
Slow Germination:
Cause: Incorrect temperature
Solution: Use a heat mat to maintain optimal soil temperature.
Final Tips for Success
Stay Organized:
Keep a gardening journal to track planting dates, germination, and growth progress.
Experiment with Varieties:
Try heirloom and unique seed varieties to diversify your garden.
Rotate Crops:
Avoid planting the same crop in the same location every year to prevent soil depletion and pests.
Celebrate Success:
Transplanting healthy, robust seedlings into your garden is a rewarding accomplishment and enjoy the fruits of your labor!
By following these steps and tips, you’ll be well on your way to growing healthy plants and achieving a productive gardening season.


Leave a Reply