Gardening is more than just a pastime; for many, it’s a deeply fulfilling way of life that connects them to nature, promotes relaxation, and yields tangible rewards like beautiful blooms, fresh vegetables, or fragrant herbs.

Whether you’re nurturing a colorful flower bed, cultivating a thriving vegetable patch, or growing a variety of flavorful herbs, one common challenge all gardeners face is protecting their plants from pests and wildlife.
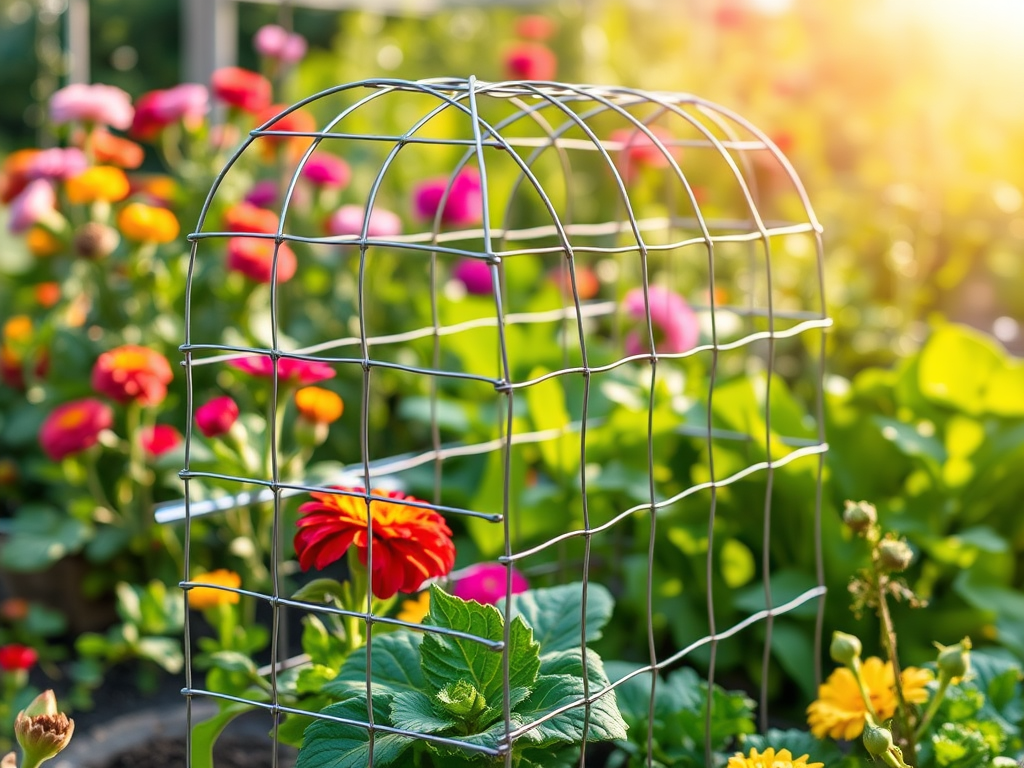
Keeping critters and insects at bay is essential to ensure the health and productivity of your garden, and one highly effective solution is to build garden cages.
These protective structures act as barriers, shielding your plants while allowing sunlight, water, and fresh air to reach them.
In this guide, we’ll walk you through the process of constructing sturdy and practical garden cages using affordable and readily available materials, such as fencing wire, from your local hardware store.
By the end, you’ll have the knowledge and tools to create a safe haven for your garden, ensuring it thrives throughout the growing season.

Why Build Garden Cages?
Before diving into the step by step construction of these structures, let’s understand why garden cages are essential.
Garden cages serve multiple purposes:
Pest Protection
Cages act as barriers against pests such as rabbits, squirrels, birds, and even larger animals like deer.

Plant Support
Cages provide support for climbing plants like tomatoes, cucumbers, and peas, keeping them off the ground and preventing damage.

Weather Protection
In adverse weather conditions, such as heavy rain or wind, garden cages can shield delicate plants, preventing breakage and damage.

Organized Growth
By confining plants within cages, you can control their growth and prevent them from sprawling uncontrollably.

Materials Needed
Before starting your project, gather the necessary materials:
Fencing Wire
Opt for sturdy, galvanized fencing wire available at your local hardware store.


Choose a gauge appropriate for the size of your garden and the strength needed to deter pests.
Wire Cutters
Essential for cutting and shaping the fencing wire to fit your desired cage dimensions.

Pliers
Handy for bending and securing wire ends.

Tape Measure
Ensure accurate measurements for precise construction.

Stakes or Posts
Depending on the size and layout of your garden, you’ll need stakes or posts to support the cages.

Zip Ties or Wire Clips
These are useful for securing the wire panels together and attaching them to stakes or posts.


Step-by-Step Guide for
Building Garden Cages
Now that you have an idea of the materials and tools needed for the project, let’s walk through the process of building garden cages:
1. Planning & Measurement
Start by assessing your garden layout and determining the dimensions of your cages.
Consider the height and width needed to accommodate your plants.

Measure the perimeter of each cage area to calculate the amount of fencing wire required.
2. Cutting the Wire
Using wire cutters, cut the fencing wire into panels according to your measurements.

Remember to account for any overlap or bending needed for securing the panels together.
3. Forming the Cage Structure
Take the cut wire panels and shape them into your desired frame, depending on your garden bed shape and size.
Use pliers to bend the wire ends and create a secure structure.

4. Securing the Panels
Once the frames are formed, join the panels together using zip ties or wire clips.
Ensure the connections are tight to prevent gaps where pests could enter.
5. Installing Support Posts
Position stakes or posts at each corner of the garden cage area.
If building multiple cages, space the support posts accordingly.
Drive the stakes or posts into the ground securely to provide stability for the cages.
6. Attaching the Cages
With the support posts in place, position the cage frames over the garden beds.
Use zip ties or wire clips to attach the cages to the support posts, ensuring they are firmly anchored.
7. Finishing Touches
Inspect the cages for any loose connections or sharp edges that could pose a hazard.
Trim any excess wire and make adjustments as needed to ensure the cages are sturdy and secure.

Maintenance & Upkeep
Building garden cages is just the first step; proper maintenance is crucial to their effectiveness.
Regularly inspect the cages for damage, rust, or signs of pest intrusion.
Repair any weak spots or breaches promptly to prevent further damage to your garden.
Additionally, consider adding additional protection measures such as bird netting or row covers for extra defense against specific pests or harsh weather conditions.

Constructing your own garden cages using fencing wire is a practical and effective way to protect your plants and enhance their growth.
By following this guide and investing time and effort into building sturdy cages, you can enjoy a flourishing garden free from the threat of pests and other potential hazards.
So, roll up your sleeves, gather your materials, and get ready to build the ultimate defense for your garden oasis.


Leave a Reply to A Guide to Preparing Garden Beds – Food Forest ConceptsCancel reply